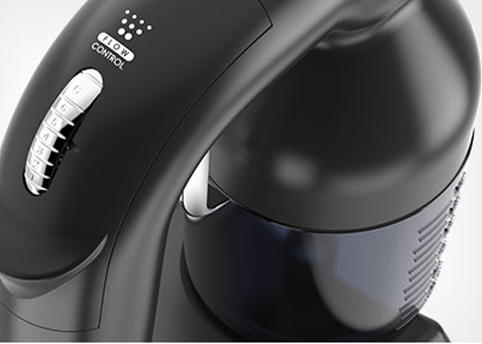
LEVEL ADJUSTMENT
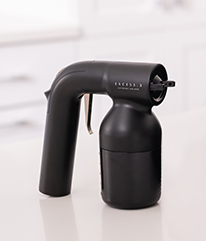
Our Applicator Guns are designed with eight levels of flow control. Level 1 being the lowest level (least amount of solution disbursed) and Level 8 being the highest (most amount of solution being disbursed).
Levels 1 to 4 are ideal for bridal parties, or for clients who require less solution on the skin. Levels 5 to 8 are ideal for traditional spray tanning, as well as your clients who request a dark tan. These eight levels are straightforward, no fancy gimmicks required. Our Applicators simply allow you to customise each tan to your client’s needs and wishes.

TANNING TECHNIQUE
When spray tanning with our professional spray tan machines, it is best to hold your applicator gun 1.5-2 inches (4-5cm) away from the client’s skin during the tanning process. Move fairly quickly and evenly through your tanning process to avoid excess build up of solution or wet patches.
If you are new to tanning or new to this tanning technique, set your applicator gun’s level of flow to a low number (1-4) until you are familiar enough with the technique to move quickly and evenly. Once you are familiar and comfortable with the equipment, you may progress to levels 5-8 allowing for a high flow of solution during the application process – allowing you to move quickly while applying the perfect amount of product.
IMPORTANT: If you’re having trouble with your gun, make sure the duck valve slit is open for the solution to spray evenly. Unscrew the cup of the Tan Applicator and find the small rubber piece located at the bottom of your gun. Move the duck valve between your fingers to open the slit. Pop it back on and you’re good to go.

OVERSPRAY ADJUSTMENT
Our applicator guns are designed to minimize overspray & product waste, saving you money while allowing you to apply the perfect amount of actives to your client’s skin.
Hold your applicator gun no more and no less than 1.5-2 inches (4-5cm) away from your client’s skin to avoid overspray and deliver the perfect tan.
Tip: If you are new to tanning or new to this tanning technique, set your applicator gun’s level of flow to a low number (1-4) until you are familiar enough with the technique to move quickly and evenly.
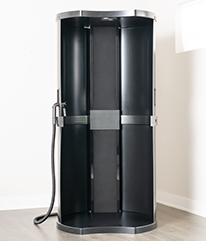
HOW TO SET UP THE ALL IN ONE TAN.BOOTH
It’s easier than you think! See how professionals build the Tan.Booth in under 20 minutes.

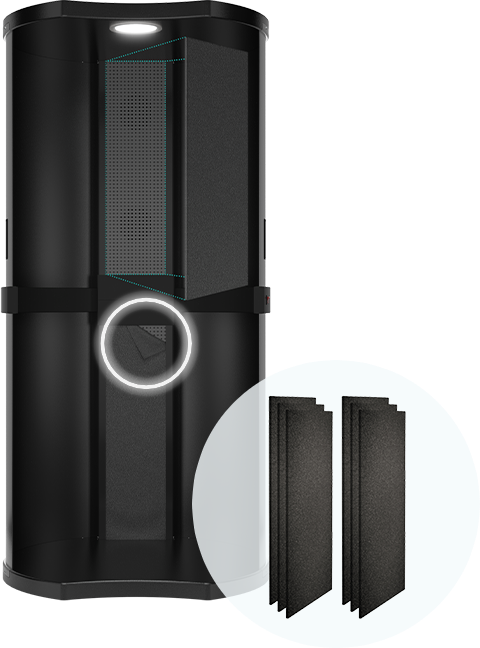
CHANGING TANNING FILTERS
The twin stacked extraction captures any fine mist
and reduces mess to ensure the environment is comfortable for both clients & the user.
- Switch off power supply to ensure the All in One Tan.Booth is not in operation.
- Stand inside the All in One Tan.Booth and slide the filter out of the plastic frame (We recommend using gloves to keep hands clean).
- Dispose of the old filter.
- Slide new filter into the frame until it is flat against the unit and all sides of the filter are under the plastic frame.
IMPORTANT: Do not turn the filters back to front to try and re-use the other side. They will only work based on one air flow direction. It is important to check your filter and replace according to instructions, to maintain performance. Do not put the filter in a dishwasher, washing machine, tumble dryer, oven, microwave or near a naked flame. Dispose of filter once used.
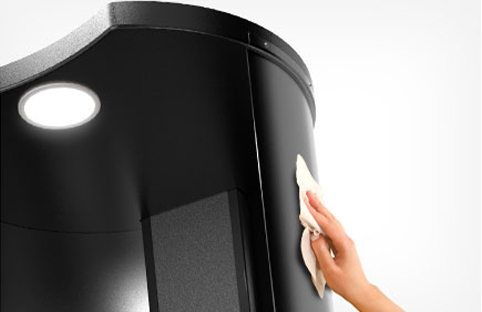
CLEANING YOUR MACHINE
If your spray machine gets dirty with overspray solution, wipe down with baby wipes or cleaning wipes. Alternatively you can use a smooth cloth (avoid anything abrasive) with a general glass cleaner to maintain the gloss finish.
WARNING: ALWAYS UNPLUG THE DEVICE BEFORE CLEANING.
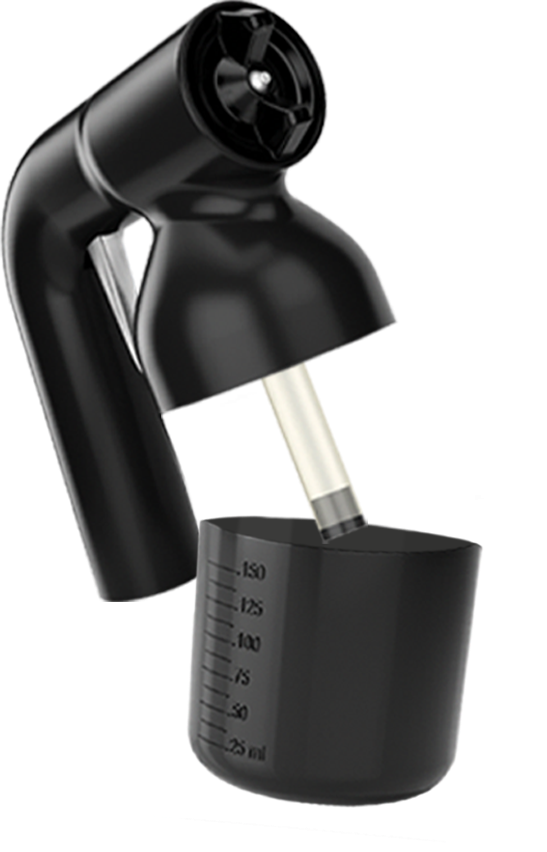
CLEANING YOUR APPLICATOR
IMPORTANT: We recommend doing this over a sink or towel.
- Remove the hose from the Spray Tan Gun.
- Unscrew the cup from the Spray Tan Gun and empty any unused solution from the cup. Be sure to rinse the empty solution cup with warm water until clean and then fill the cup about ¼ full of warm water.
- Insert the cup and screw tightly, back into the Spray Tan Gun and reconnect the hose.
- Turn on your spray tan machine and adjust your solution Flow Control dial to the highest setting for maximum water spraying.
- Direct the spray applicator into the sink and spray the clean water through until the cup is empty. This will clean through the needle and out to the spray-pattern nozzle.
- Now that the cup is empty, reset your solution Flow Control dial on the back of the Spray Gun to your regular settings.
- Disconnect the Spray Tan Gun from the Air-Hose and unscrew the cup.
- Wipe all areas dry including the cup and Spray Tan Gun ready for the next use.
IMPORTANT: You must not submerge the Spray Tan Gun under water. If your handy tan has excess spray solution, wipe down with baby or cleaning wipes. Alternatively you can use a smooth cloth (avoid anything abrasive) with a general glass cleaner to maintain the gloss finish

GENERAL STORAGE
For longevity, we recommend storing your spray tan equipment out of direct sunlight. Keep indoors in a space where the equipment will not experience extreme cold or extreme heat.
If storing for long periods of time without use, ensure all parts are disconnected from power, new filters have been installed, and applicator guns have been properly cleaned before storing.

EQUIPMENT MANUAL DOWNLOADS
FOR MORE INFORMATION
Global Accreditations

Receive Your Free
Solution Cocktail Menu
when you sign up to the Mine Professional Newsletter!
+ exclusive promotions for professional products






 USA
USA Australia & NZ
 United Kingdom
 France & Belgium
 Germany & Austria
 Netherlands
 Sweden
 Poland
 Europe
 Ireland